Running your own coding assistants with Ollama
2025-11-07AI coding assistants help developers to write code faster, and sometimes they can also be used by developers as a rubber duck programming tool. It has to be noted that these AI tools do hallucinate and the generated code may not be correct or may not adhere to the coding guidelines or security guidelines, so it’s important that the generated code should be reviewed properly by developers and adapted accordingly to the context.
There are many AI coding assistants available like GitHub Copilot, OpenAI Codex, Claude Code, and others. However, these AI coding assistants are not free and they have a cost associated with them. It is possible to run your own coding assistant locally and can integrate with your editor like vscode, neovim or emacs. The advantages are that the data does not leave your premises and there are no limitations on the number of requests that you can make to the AI coding assistant. One can also extend model for domain specific fine tuning and use the extended model. I would write a separate post when model extension is required and how to use it for domain specific tasks.
The setbacks are that you have to manage the data yourself and would require good amount of disk space for storing the model data. This article will show you how to set up an Ollama server on your local machine and then integrate it into your favorite text editor.
Prerequisites
- A computer running on Linux or Windows or macOS with a recent version of Xcode installed.
- Node.js v16+ installed
- Python 3.8+
- pipenv installed
- An internet connection to download the Ollama server and dependencies.
Step 1: Install Ollama
First, you need to install Ollama on your local machine. You can do this by running the following steps mentioned in ollama site. The below screencast shows the installation on ubuntu machine.
Step 2: Install the dependencies
After installing Ollama, you need to pull the Models from the Ollama Models Repository and install them.
This can be done by calling ollam pull
The below screencast shows the same process on a Linux machine.
Step 3: Integrating with VSCode
Now that Ollama is running locally with a model downloaded, you can integrate it with VSCode using the Continue extension. Continue is an open-source AI code assistant that supports local models via Ollama.
Install the extension
Open VSCode and install the Continue extension from the marketplace. You can search for “Continue” in the Extensions panel or install it from the VSCode Marketplace.
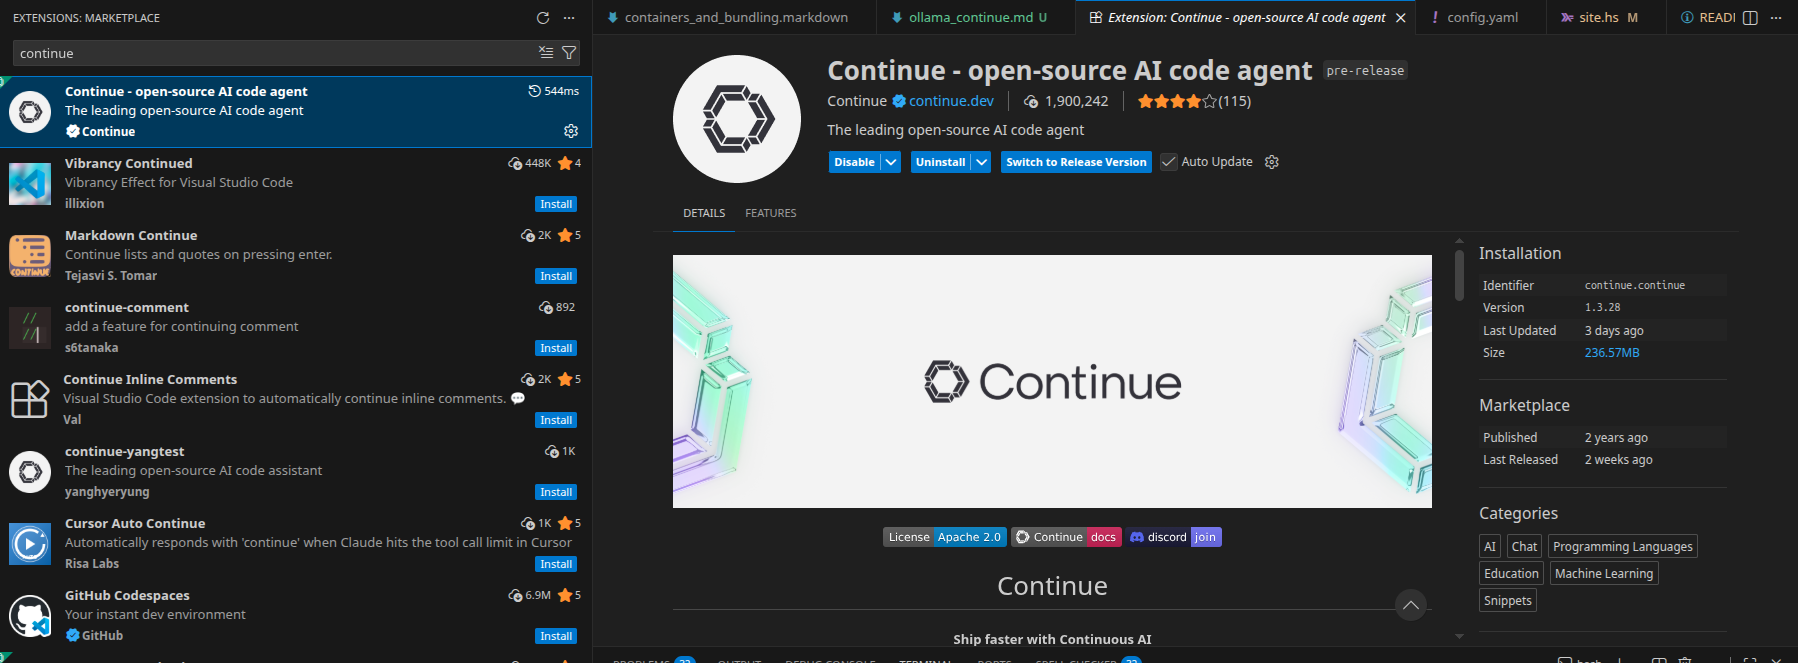
After installation, you will see the Continue icon in the sidebar. Click it to open the Continue panel.
Configure Continue to use Ollama
Once the extension is installed, you need to point it to your local Ollama instance. Open the Continue configuration by clicking the gear icon in the Continue panel. This opens the config.json file where you can add Ollama as a provider.
Add the following to your config.json:
{
  "models": [
    {
      "title": "Qwen 2.5 Coder",
      "provider": "ollama",
      "model": "qwen2.5-coder:7b"
    }
  ]
}
Replace the model name with whichever model you pulled in Step 2. Continue will connect to the Ollama server running on localhost:11434 by default.
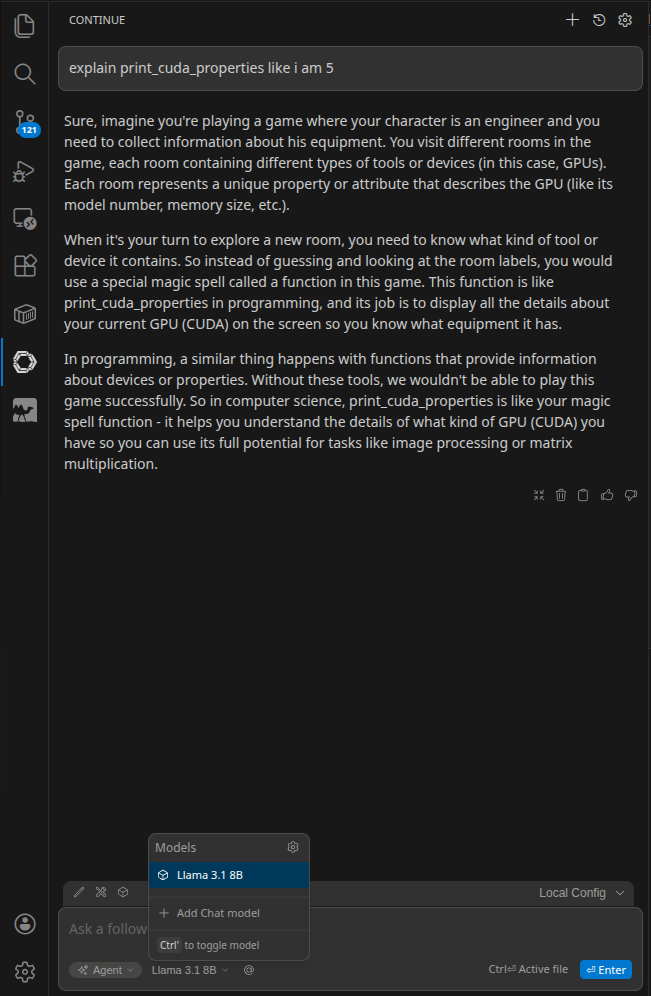
Using the assistant
Once configured, you can use the Continue panel to chat with the model, ask questions about your codebase, and get code suggestions. Select a block of code in your editor and use Ctrl+L (or Cmd+L on macOS) to send it to Continue with a prompt.
You can also use inline completions by pressing Ctrl+I (or Cmd+I on macOS) to get code suggestions directly in the editor. For tab autocomplete, add a fast model to the tabAutocompleteModel field in your config:
{
  "tabAutocompleteModel": {
    "title": "Qwen Autocomplete",
    "provider": "ollama",
    "model": "qwen2.5-coder:7b"
  }
}
That’s it. You now have a fully local AI coding assistant running inside VSCode with no data leaving your machine.